📄✂️Paper Art from Hans Christian Andersen🎄❤️
🎨 A follow-up story branching from the Chapter : Handwork & Folk Art in the Art Album. This chapter begins with what children already know, paper chains and simple mat weaving ✂️📄🧵and invites them into Big Work 👐❤️🧠, where hand, heart, and mind move together, transforming simple paper into meaningful ornaments that carry stories from hand to hand, generation to generation 📚🤲. This doorway opens into the chapter’s wider tapestry—the steady rhythm of weaving 🧺, the patience of stitchery 🪡, the design play of pattern and symmetry 🧩♻️, and folk art from many cultures 🌍showing how humans turn humble materials into symbols of belonging and celebration 🎁🏠. This story also bridges to Geometry Chapter : The World Is Full of Shapes 📐🪞, where children test bilateral symmetry by folding and designing their own mirrored decoration✨🔁. Every art story is an invitation to gather, listen, imagine, and then create: a story to hear, a work to do, and experience to remember 👂💭🖐️🛠️❤️. ✂️🧵🎄 Children leave with a woven heart basket ❤️🧺🍪and a wondering mind: "What other paper art I can create to decorate with ?🌟🏡🍎🕯️
ART STORIES
12/14/20253 min read
Do you know the fairy tales ; The Ugly Duckling 🦢, The Little Mermaid 🧜♀️ The Snow Queen ❄️👑 ?The storyteller behind them, Hans Christian Andersen had very big imagination, just like you! When he was around your age he loved drawing 🖍️ and making art from paper ✂️ as much as imagining and writing stories. He could spend hours imagining, folding, drawing, cutting and playing with his paper cuts . He was making paper figures, bookmarks, and even small play decorations 🎭 for the plays he dreamed up. Here are some of his paper cuts I printed. (example 1, example 2, example 3, example 4, example 5, example 6, example 7, example 8, example 9, example 10, example 11, example 12, example 13, example 14, example 15, example 16, example 17, example 18)
Look at them carefully. What do you notice? 👀 Most of them look like mirror twins, each side matches the other! That’s bilateral symmetry, let’s clap it: bi – la – te – ral. ( bi = “two,” lateral = “side”) But how did he make them? He would fold a sheet in half, draw just one side, and then snip, snip! open it to find mirror-twin pictures: dancers 💃🕺, swans 🦢, castles 🏰, even whole parades! It’s like magic you can make with your hands. ✋✨
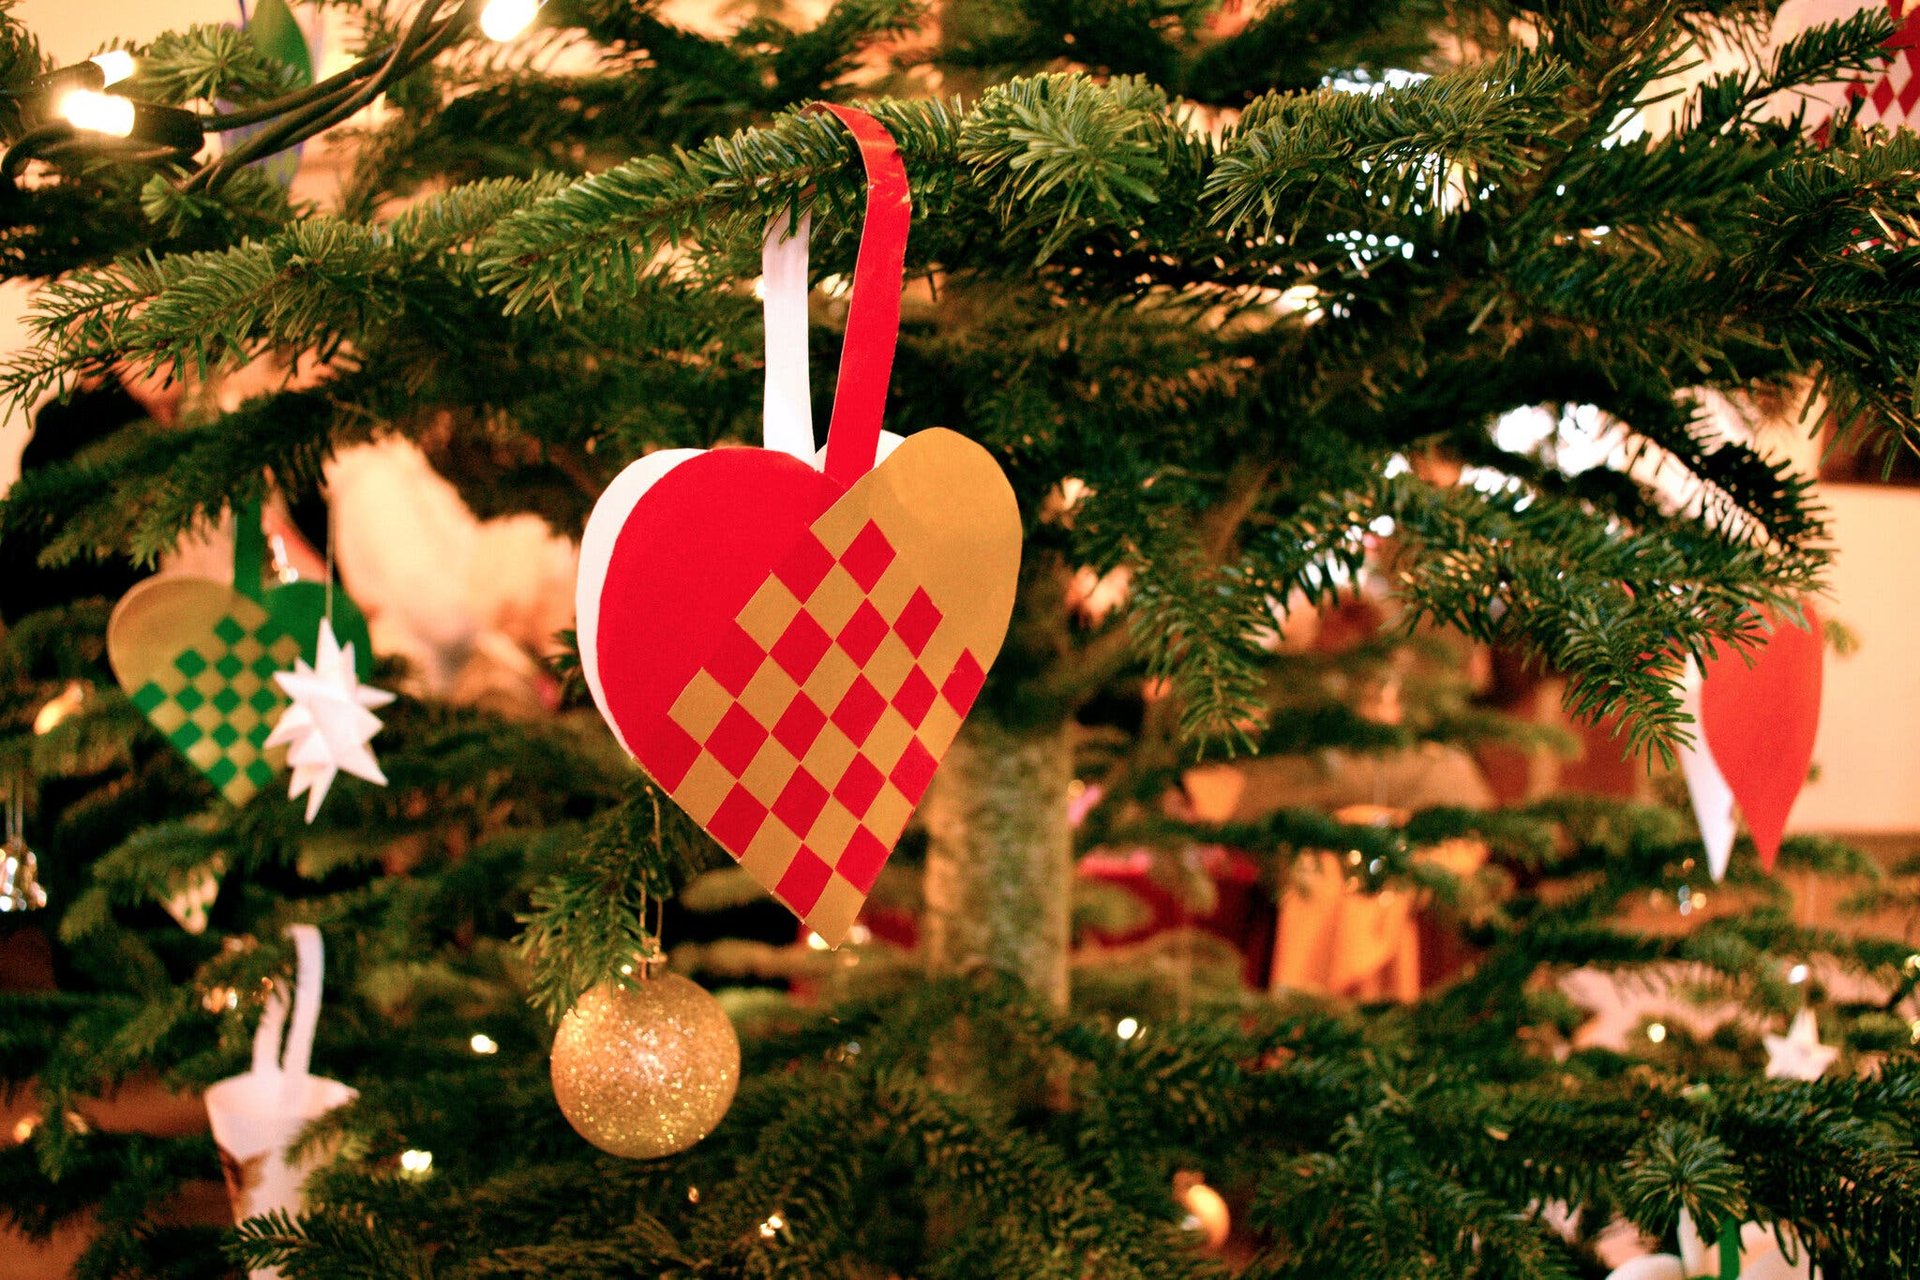
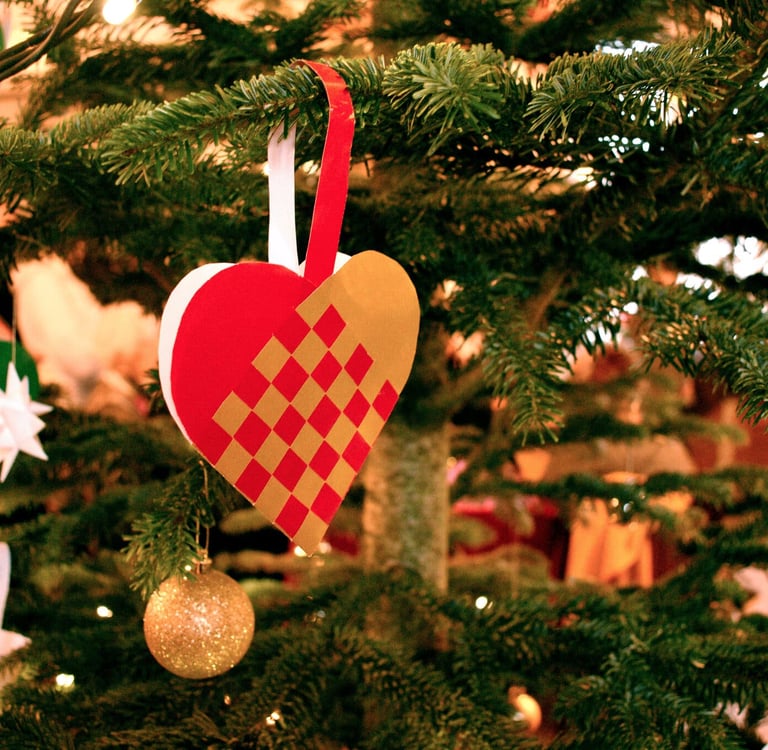
He loved the Christmas season too. When the tree came out 🎄, he would run to decorate it. He cut paper figures, flags, and even little poems 📝 and something special that children in Scandinavian countries still make today: a woven paper heart. Some say he first used one yellow and one green sheet 💛💚. Over time, people changed them to one white and one red shee and added a handle so the heart could hang, and be filled with sweet surprise. 🍪 A heart for the christmas tree and a sweet treat for the children to enjoy on Christmas Eve. This woven heart became a tiny pocket of kindness made by children’s hands, carrying a cookie and a story passed from hand to hand for the last 150 years. 📖💗
Now, let's weave a heart together. Hands ready? 🙌 Choose your colors 🎨, follow the steps, help a neighbor, and watch a heart basket grow right in your fingers. When our hearts are finished, we’ll hang them up or tuck a noteinside ⭐and maybe a few cookies for later. 😉
(Use the template to cut two different colors , usually one red and one white ).
Cut the shapes ✂️
✂️Cut out the heart shape from the template twice—once from each color.
Fold & prepare strips 📐
Fold each heart in half on the fold line. With the folded edge toward you, carefully cut the strip lines (start with two; experiment with more later), stopping where the line stops.
Weave the pocket 🧩
Nest one folded heart inside the other at a right angle. Weave finger-through-loop: first strip of Color A through the first loop of Color B, then Color B through the next of Color A—under–over, slow and steady—until a pocket forms.
Add the handle & hang 👜🎀
Cut a paper strip for a handle and glue or tape the ends inside the pocket. Hang on the Christmas tree or around the room—and tuck in a kind note or a cookie for later joy. 🍪✨
After the hearts, the fun paper art continues! 🖼️ Try making your own paper cuts like Hans Christian Andersen—fold, draw half, cut, open! Experiment with people, animals, shapes, crowns, sun, stars, even snowflakes 👑❄️. I wonder... 💬 what symmetry will you choose to explore, radial or bilateral? 🌟🧵🕯️🍎
Here how Hans Christian Andersen decorated his Christmas tree, with paper dolls and braided hearts. How many braided hearts can you spot? And this is a traditional Danish christmas tree, people even fold the star for the top, but that's a story for another day...
Possible Follow-Up Art Creations 🌟
More strips: 2 for beginners, 3 for classic, 4–5 for a challenge. Or invent your own design. Here is the template and more instructions.
Mini & jumbo: Make tiny hearts for notes ✉️ or big ones for biscuits.
Paper-cut gallery: After weaving, explore fold-and-snip symmetry—crowns 👑, animals 🐻, snowflakes ❄️—mount as bookmarks, characters for a mini play, or decorations for a folk-art wall.
With Montessori joy,
Vanina 😊